Updating the CodeLogic Windows .NET Agent
Important
Before you update your CodeLogic Server or Agent, please verify that your systems meet the CodeLogic Installation Requirements.
Internet access is required for updates.
When you update the CodeLogic Server you must also update your CodeLogic Server Agents.
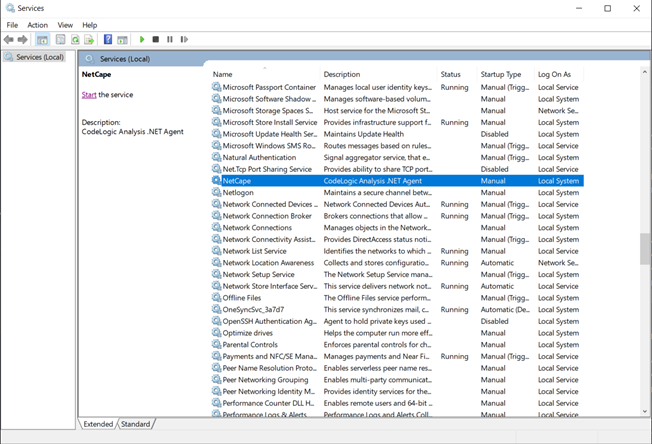
- Stop the .NET Agent through the Windows Services Manager.
-
Download the Windows .NET Agent.
-
Run the Installer
- Double-click the downloaded netcape-installer.msi icon to begin installation.
Note
CodeLogic preserves the settings in your configuration file. You do not need to configure the agent unless the default configuration file has been modified. To see if the default configuration has been modified, please check the release notes.
-
Execute or Start the Agent
The CodeLogic Agent for Windows .NET can be executed through a Command-Line Interface (CLI) or started through the Graphical User Interface (GUI).
-
Change directory to the
C:\Program Files (x86)\CodeLogic\NetCapedirectory and run the agent from the command line.Note
Replace “path_to_scan” with the path to the .NET application to be analyzed.
-
Commands:
cd “C:\Program Files (x86)\CodeLogic\NetCape”
NetCapeAgent “path_to_scan”
Note
A lot of output will be printed. The window can be minimized. When decomposing, all available CPUs will be used.


