Configure Development Spaces
Table of contents
- Configure Development Spaces
- Introduction
- Create a Development Scan Space
- Create a Development Workspace
- Configure GitHub to send change requests to Development
- Repository Configuration
- Configuring GitHub Webhook
- Configuring Agents
- Viewing the Impact of Change Requests
Introduction
It's useful to see the impact of every code change. CodeLogic facilitates this by scanning change requests and delivering the results to a specified workspace.
This guide will walk you through:
- Creating a Development Scan Space, where your agent will send scans.
- Creating a Development Workspace.
- Configuring GitHub to send scans of change requests.
Create a Development Scan Space
Scan Spaces are logical partitions in which scan data is stored.
Although the name is arbitrary, use "Development" for clarity. When you configure your agent, specify the "Development" Scan Space.
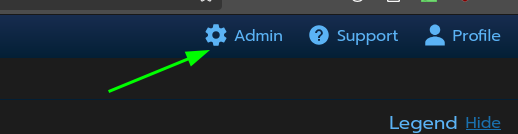
Navigate to Admin > Scan Spaces in the CodeLogic UI.
In the Scan Spaces tab, click the Add Scan Space button. Name the Scan Space "Development," add a description, and click the Save button.

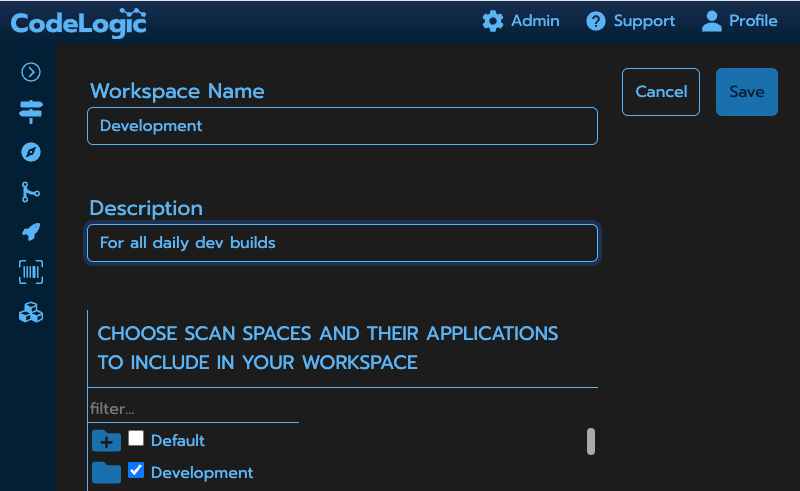
Create a Development Workspace
Workspace are used to select and show scan results from Scan Spaces.
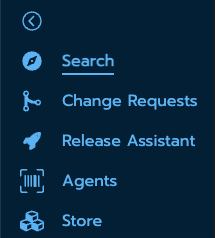
- Navigate to Search in the sidebar.
- Click the current Workspace, shown in the top nav (probably called "Default").
- Click "Create Workspace."
- Name your Workspace "Development."
- Select the "Development" Scan Space.
- Click "Save" to create the Workspace.
Configure GitHub to send change requests to Development
This step results in all changes to your code being displayed in the "Development" Workspace:
- A GitHub pull request is configured to generate a webhook event.
- The CodeLogic Change Requests feature accepts a webhook event.
For more information on the Change Requests feature, please see Change Requests.
Repository Configuration
Each GitHub repository has a unique configuration that is added to the Change Requests configuration.
Important
Only one configuration may be used for a given repository URL, regardless of the Branch Pattern.
GitHub Credentials Configuration
GitHub credentials must be configured before configuring the repository. Navigate to Admin > GitHub Credentials and select the "Create GitHub Credential" button.
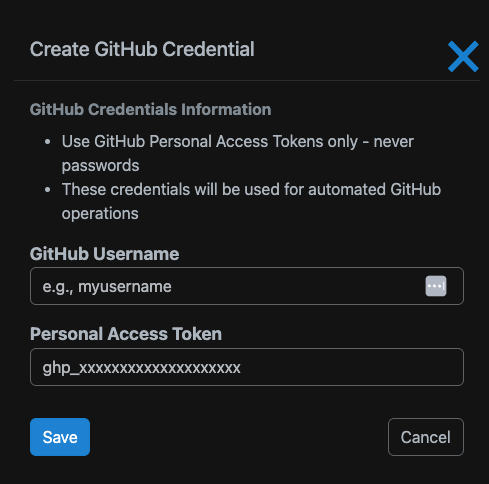
In the Create GitHub Credentials modal:
- Enter the GitHub Username.
- Enter the GitHub Personal Access Token (PAT).
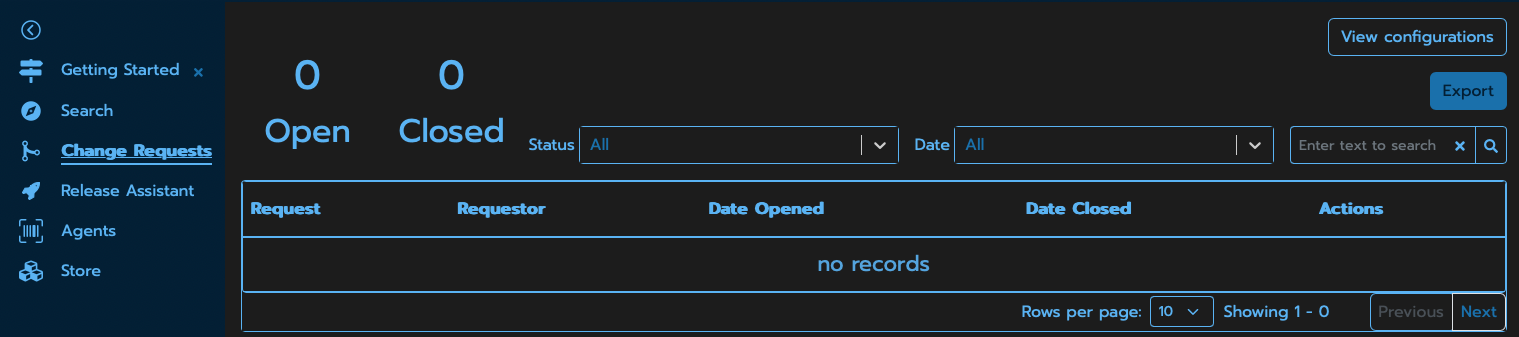
In CodeLogic, navigate to Change Requests in the sidebar.
Click "View configurations" on the right side of the page.
Click "Add Change Request" on the right side of the page to open the New Config dialog:
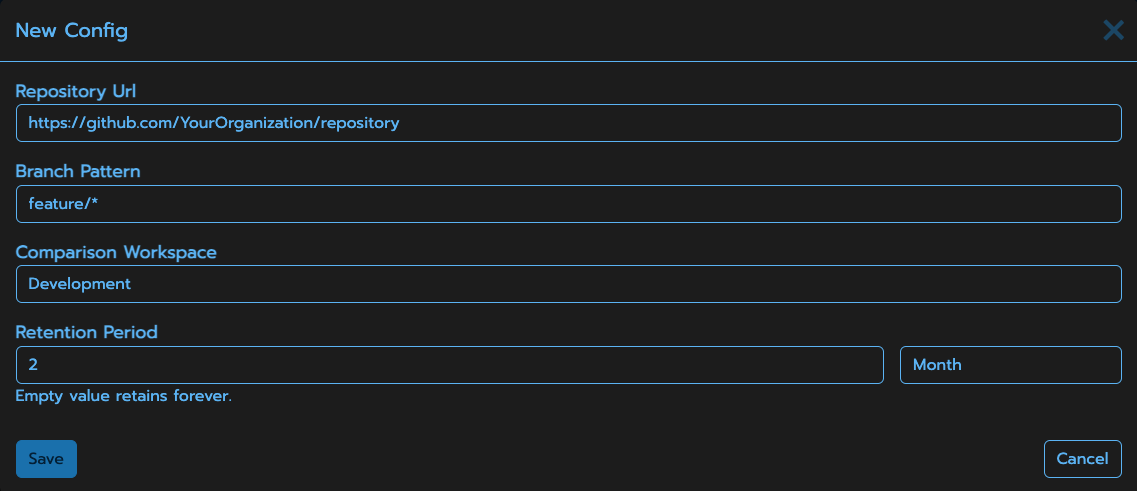
- Add a Repository URL from which the Pull Request webhook events will originate
- Enter a Regular Expression Branch Pattern matching the branch naming used for Pull Requests
- For example:
feature/.*will match any branch name starting withfeature/ - In the "GitHub Credentials" field, select the GitHub Credentials Username that was previously configured.
- In the Comparison Workspace, select "Development"
- Choose a Retention Period for how long the server should retain the comparisons
Reminder: Only one configuration may be used for a given repository URL, regardless of the Branch Pattern.
Optional: You may need to configure secrets for communication.
Configuring GitHub Webhook
These steps create a webhook for CodeLogic's Change Request feature. To learn more about webhooks and how they are configured in GitHub, please refer to the GitHub Docs.
Important
You must be a repository owner or have admin access in the repository to create and manage webhooks in a repository.
- Log in to GitHub
- Within the settings page of your organization, select Webhooks from the menu on the left
- Click Add webhook
- Enter the payload URL
Important
The payload URL consists of your server's address and /codelogic/server/webhooks/github/payload.
For example, if your server name is myserver.com, then your payload URL would be https://myserver.com/codelogic/server/webhooks/github/payload
- From the Content type drop-down menu, select application/json.
- If you are using SSL verification select Enable SSL verification.
- Select Let me select individual events.
- Select the following events:
- Pull requests
- Pull request review comments
- Pull request reviews
- Pull request review threads
- Click Add webhook.
Configuring Agents
CodeLogic Change Requests automatically find scans of the changes from a pull request in one of two ways. The CodeLogic server will locate the scan data based on the git hash matching the hash provided by the webhook, or it will locate the scanned artifact data in a specially named Scan Space correlating to the pull request.
For this Guide, the latter method is used. Scanned data is sent to the "Development" Scan Space. All "Development" scans are viewed in the "Development" Workspace.
Using Named Scan Spaces
The CodeLogic server will look for scanned artifact data in a Scan Space with a pattern matching REPOSITORY_URL|BRANCH_NAME.
To configure an agent to scan into a named Scan Space, please refer to CodeLogic Agents for the configuration documentation for your agent.
As an example, if your pull request originates from the following repository https://github.com/CodeLogicIncEngineering/documentation
in a branch named feature/add_development_spaces you would pass the following Scan Space to the agent when scanning:
https://github.com/CodeLogicIncEngineering/documentation|feature/add_development_spaces.
Viewing the Impact of Change Requests
Selecting the "Development" Workspace is the most convenient way to see the affected code.
Change Requests are listed in Change Requests and easily be viewed, see Viewing Results.